- 6 steps for perfect colour prints with Canon imagePROGRAF PRO-1100
-

'Canon Master and Travel Photographer Richard I’Anson brings his vision to life through physical prints that stand the test of time.'
Achieving consistent and accurate colour prints is essential for any professional photographer. Whether you're printing for clients or creating artwork for exhibitions, the goal is to ensure your prints look just as you envisioned them. With the Canon imagePROGRAF PRO-1100 printer and a colour-calibrated workflow, you can produce stunning, true-to-life prints every time. Here are six key steps to optimise your workflow and achieve the best possible results with your Canon imagePROGRAF PRO-1100.
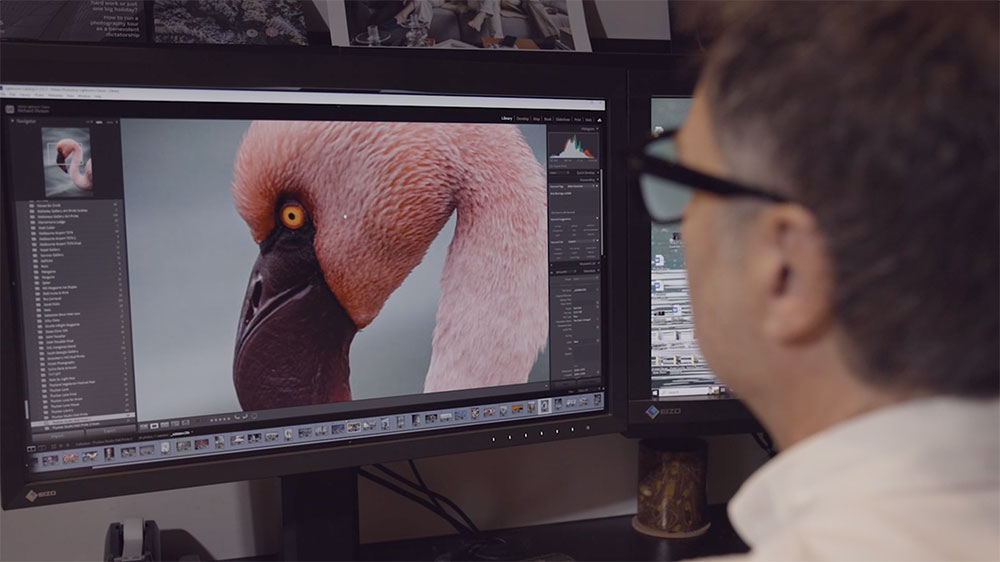
The first step to ensuring your prints match your screen is calibrating your monitor. A calibrated display allows you to see the colours more accurately, so what you see on-screen is closer to what you'll get in print. Using a colour calibration kit, which typically includes a colorimeter, a small device you hang on the front of your screen, and software, is an easy way to adjust your monitor's settings for more precise colour reproduction.
Pro Tip: Adjusting your monitor brightness to around 120 nits will give you a better on-screen representation of how your prints will appear. Keep in mind that prints tend to look darker than what’s displayed on your monitor, so this adjustment can help you get a more accurate preview.
Once calibrated, your Canon imagePROGRAF PRO-1100 printer will shine by reproducing rich, deep colours, especially in the blacks and blues, thanks to its advanced ink technology.
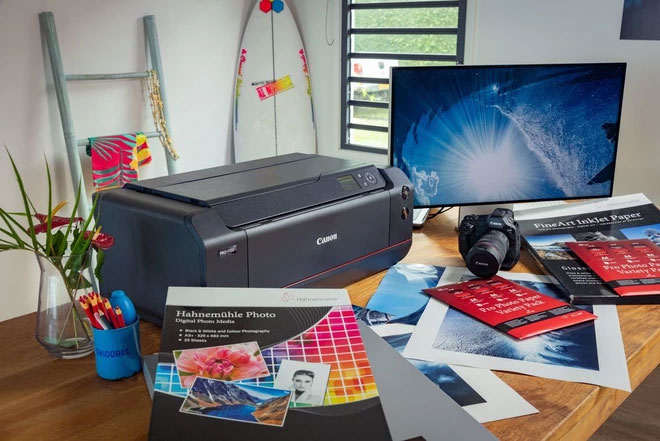
Choosing the right paper for each image is essential to getting the desired look and feel in your final print. Different paper types affect how the colours are rendered, how the ink is absorbed, and the overall texture of the image. Glossy papers, for instance, produce vibrant prints but can have a reflective finish that may not be ideal for all situations. On the other hand, matte and fine art papers absorb more ink and provide a more textured finish, which can add a unique quality to your print.
Pro Tip: Think about the image you’re printing and its intended use. A colourful family portrait might benefit from a glossy finish, while a black-and-white fine art print may look better on a textured or matte paper. Always choose a paper type that complements the style and mood of your image.
In Canon’s Professional Print & Layout (PPL) software, make sure to specify the exact paper type you’re using to allow the printer to optimise its settings for that particular media.
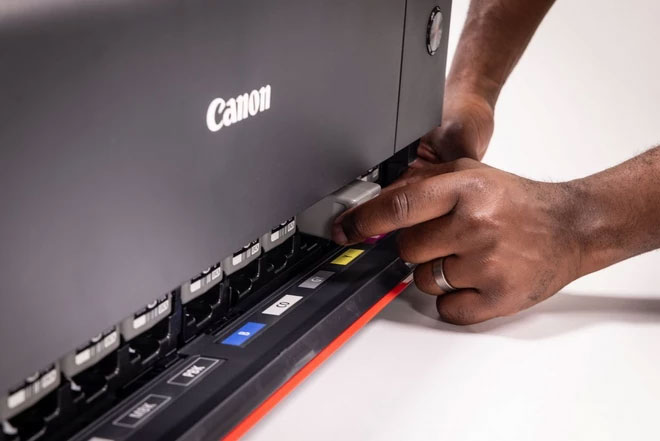
To achieve the best colour accuracy, make sure you install the correct printer profiles for your chosen paper. ICC profiles are essential because they allow the printer to adjust its colour output to match the unique properties of the paper you’re printing on, including its white point and ink absorption rate.
Pro Tip: Canon’s Professional Print & Layout (PPL) software includes a library of ICC profiles for Canon’s own papers. If you're using third-party paper, such as Canson or Hahnemühle, you can download the corresponding profiles from the manufacturer’s website. This ensures that your printer is accurately adjusting to the specific characteristics of your paper.
Additionally, for even finer control, AM1X files—which manage advanced settings such as ink distribution, head height, and paper feed—are useful for getting the most out of your Canon imagePROGRAF PRO-1100, especially when working with fine art papers.
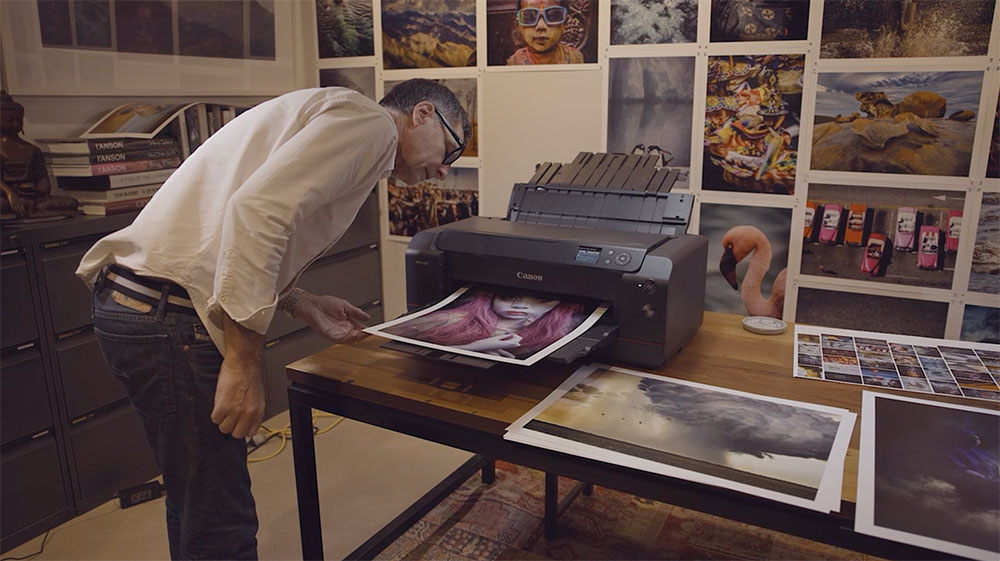
Using Professional Print & Layout (PPL) software is key to maximising your printer’s capabilities. It works as both a standalone application and as a plug-in for image editing software like Adobe Photoshop and Lightroom.
Important settings to check in PPL include:
• Colour Space: If you’re editing in Adobe RGB, your Canon imagePROGRAF PRO-1100 is optimised to handle this wider colour space. However, if your images are in sRGB, you don’t need to change the colour space for printing.
• Rendering Intent: This setting helps the printer manage colours that fall outside its printable range. Relative Colorimetric works well for images with mostly in-gamut colours, while Perceptualis better for more colourful or complex images.
• Media Type: Ensure you select the correct paper profile in PPL. This ensures the printer uses the correct colour management settings for that specific paper.
Pro Tip: Always use theICC profiles to tell the printer which paper you’re using. This will ensure that the colour output is optimised based on the paper’s characteristics.
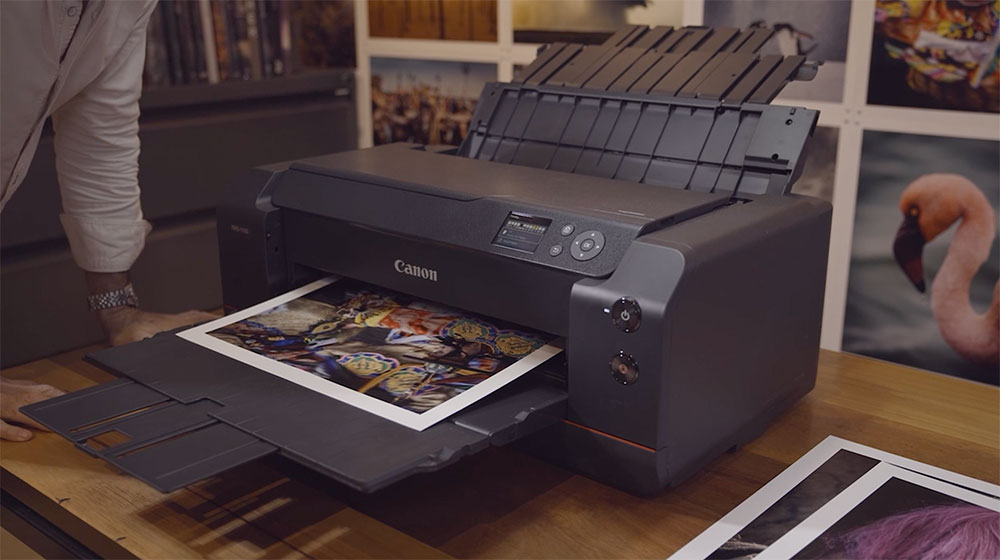
Before committing to a full print, use the Soft Proofing feature in PPL. This tool provides an on-screen preview of how your image will look when printed, based on the current settings. However, remember that the way colours are displayed on-screen is different from how they will appear on paper, so the soft proof can’t always be 100% accurate.
For even more precision, try using the Pattern Print feature. This prints small test thumbnails of your image with various colour and contrast adjustments. It’s a great way to experiment and find the best settings without wasting ink and paper on full-size test prints.
Pro Tip: Pattern Print helps you fine-tune your print settings before committing to a final print, saving both ink and paper in the process.
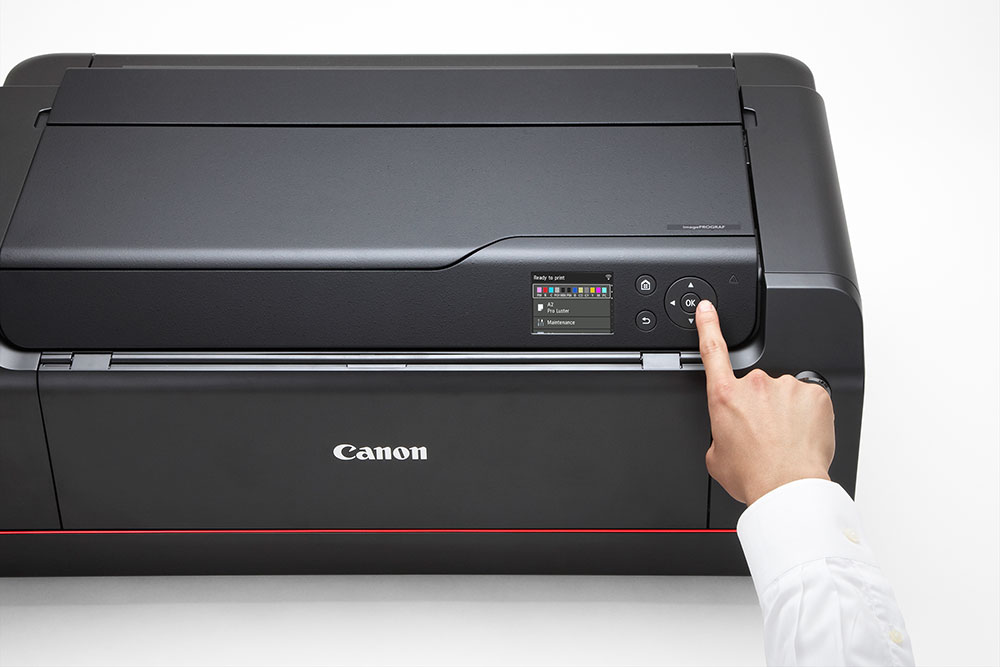
While the Canon imagePROGRAF PRO-1100 offers automatic colour calibration, it’s important to run this process when first setting up your printer, after replacing a print head, or if you notice discrepancies in your prints. This ensures that your printer is maintaining optimal colour performance over time.
Pro Tip: Periodically running automatic calibration will keep your printer’s colours consistent. If you see any colour shifts or the print quality diminishes, check the calibration settings and perform the process again. The imagePROGRAF PRO-1100 is designed to self-maintain, so you won’t need to do much manually unless there’s an issue.
By following these six steps, you’ll optimise your printing workflow and ensure consistent, high-quality prints every time with the Canon imagePROGRAF PRO-1100. This professional-grade printer delivers stunning colour reproduction and depth, making it ideal for photographers who want complete control over their print quality. With the right calibration and settings, your prints will truly reflect your vision.
For even more guidance on perfecting your print process, explore the advanced features in Canon’s PPL software and fine-tune your workflow to achieve professional results.

Find out if you're one of the five types of people who benefit most from having access to their own printer – and find the perfect one for you.

Print professional-looking photographs in your own home with this guide from photographers Kirk Richards and Julian Lallo.

Super stylist Mr Jason Grant reveals how he makes a house a home with his favourite images and a Canon PIXMA printer.