- How To Elevate A Brand With Unique Lifestyle Product Photography
-

Phoebe May Hebden from The May Studio knows all about building bespoke brands through unique visual content. Here she shares some top tips to creating beautiful lifestyle product photography.
It can certainty be a challenge to create lifestyle product imagery that looks natural and inviting. There is such a fine line between overcrowded imagery and under-styling, but when you strike the perfect balance between the two, you will produce the perfect shot.
By implementing these 5 fundamental tips, you will be able to seamlessly create beautiful, original lifestyle content, all from your own home.
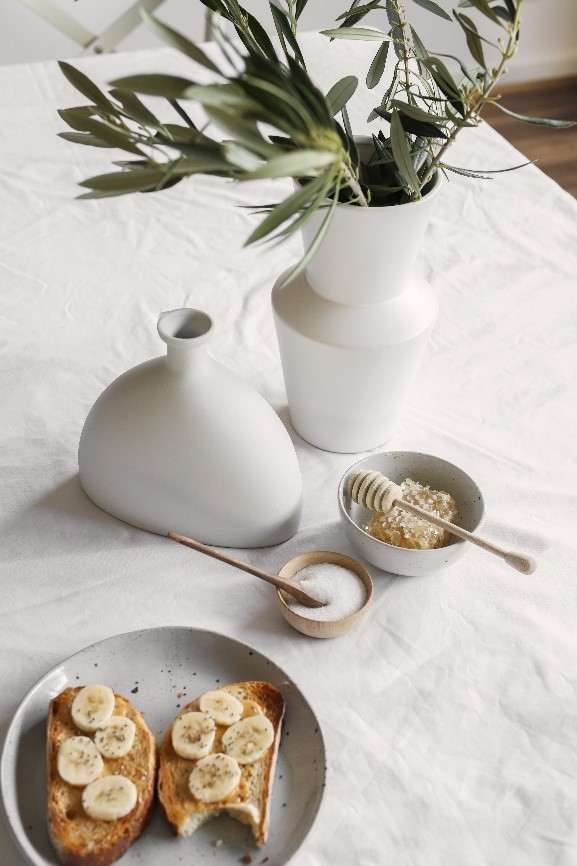
When it comes to lifestyle product imagery, styling is key. It needs to invite your audience to want more, and subsequently, sell the product. When curating a lifestyle shot, choose a surface that you like, whether that be a textured table, or a large tile as your base, and then build from there with props. A fundamental piece of advice you need to follow is when accessorising, have a story that makes sense and tell it through effective choice of props. For example, if you are creating a dreamy bedside table shot, no matter how pretty a wooden toothbrush may look, it simply doesn’t make sense on the context of the setting. Using accessories that don't assist in telling your narrative lacks attraction and creates confusion. Here I’ve styled the Paola & Joy vases on a beautiful dining table setup.
A lot of people think that in order to create a ‘perfect’ product shot they need soft boxes or strobe lights. These lights do have their place, however when creating lifestyle imagery natural light is not only the easiest option, but it's the most realistic and soft. Shoot in a well lit space (not direct harsh light and not the darkest corner of your space). Feel free to experiment with using a white board as a reflector to minimise some of those dark tones. It’s not often you would have two windows bringing in even light to both sides of your set up. By placing a white board on the darker side of your set up, it will bounce some light back in, creating a dreamy scene.
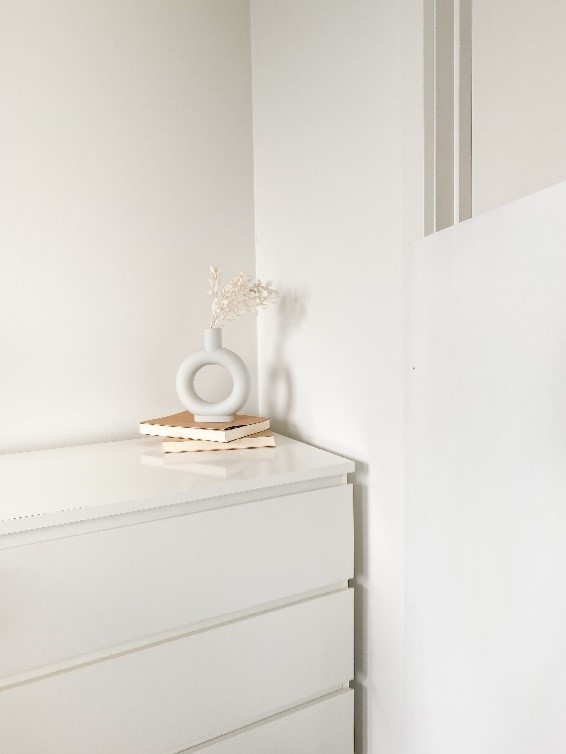
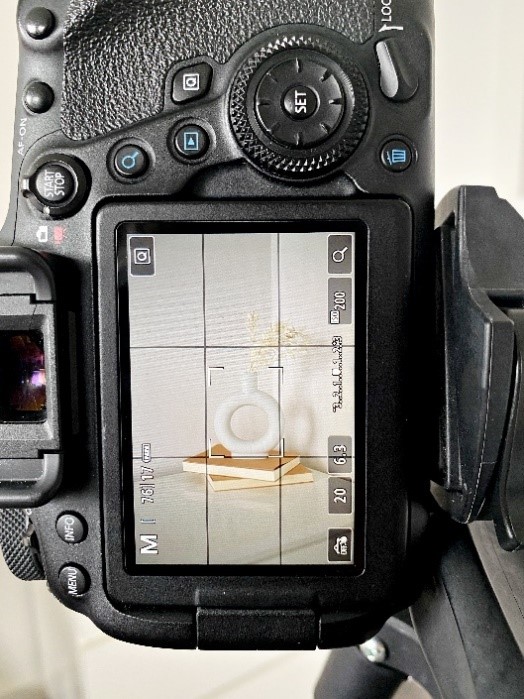
When shooting product, a lot of people opt for the lowest aperture possible to create that blurred background effect; an effective way of leading your eye to the detail of the product. In contrast to that, when it comes to lifestyle shots, you want everything to be seen. Shooting around the f/5.6 or f/7.1 aperture speed is the perfect in between. This allows for a greater focus on the product, but still exposing the surrounding props. Shooting above f/7.1 may create a flat image that doesn’t lead your eye anywhere. When setting your ISO, always remember to keep it as low as possible or you will create grainy low quality shots. This is even more prominent in product photography as you are looking at the detail, the sharpness of the label, or the texture of a product. Finally, your last setting to consider is your shutter speed. If you’re shooting in a low light setting your tripod will be your best friend, so you can have your shutter speed the lowest needed. I always opt for a lower shutter speed, so I have better flexibility with my aperture and ISO. This is your most flexible setting that transforms your image.
Lightroom and Photoshop are the best pair when it comes to editing your raw images. By first importing your images into Lightroom, this allows you to toggle around with the basic settings; exposure, highlights, shadows, clarity and more. Take advantage of the more advanced settings in Lightroom, the ‘Graduated Filter’ to even out your lighting (the best way to balance your lighting, especially when shooting natural), ‘Lens Corrections’ and ‘Transform’ to remove any distortion as well as many more features. When you import your file over to Photoshop, play around with the ‘curves tool’ to create depth in the image, as well as the ‘Hue/Saturation' tool to remove any off tones your camera may be creating. Tip: Look closely at your whites in the image, and see if you can see it throwing a yellow or blue tint. Normally there is always a blue tint in every image. By removing these colours you will be able to create crisp whites, which is the ultimate way to sharpen your images. But remember to go back in and paint back in your blues where needed. With lifestyle imagery, you have so much room to play with different looks created in the editing stage; moody, light and bright, soft and gentle etc.
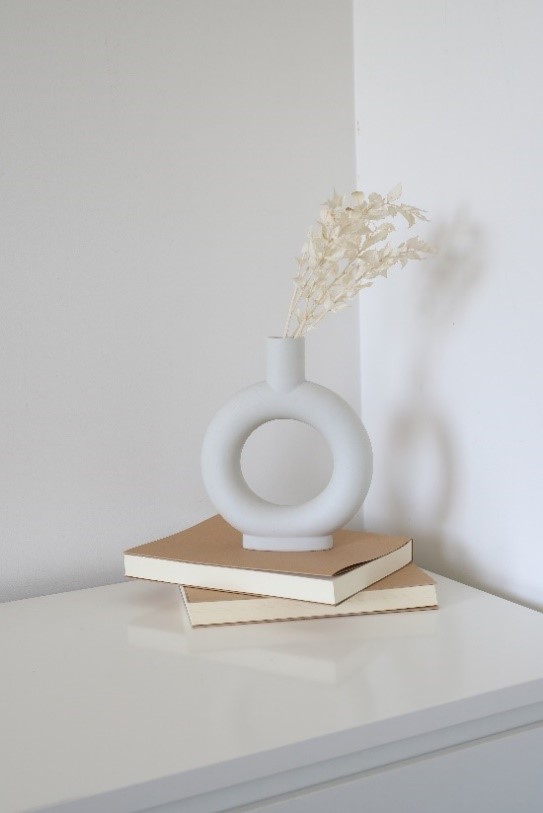
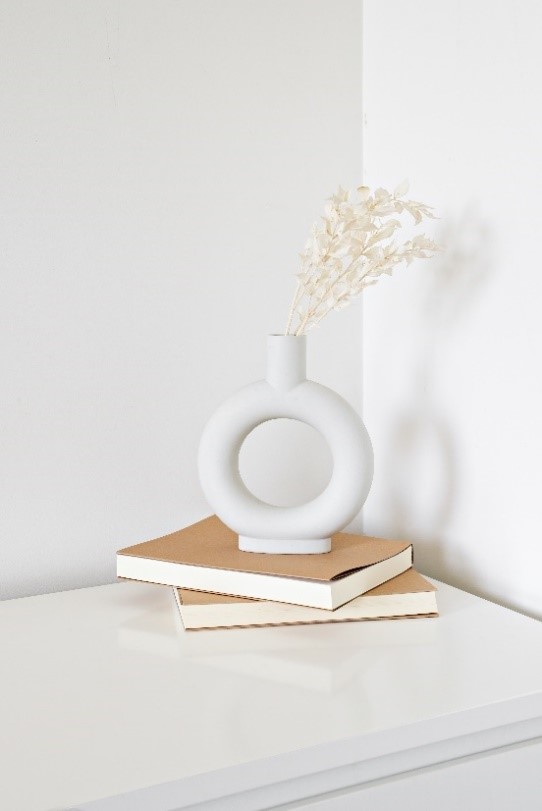
Before and after editing
Along every step of your shoot, including sourcing props, layering accessories and choosing different angels, it is absolutely paramount to be original and authentic to your own personal style. Being unique with your content will always result in achieving a higher standard of photography, as opposed to imitating or mimicking somebody else’s look. Lifestyle product imagery is supposed to be the ultimate effortless look, and yet the irony is that it requires a whole of effort to achieve. Selling the lifestyle behind the product is an excellent way to make a customer want more. Before a shoot, it’s imperative to gather inspiration from wherever you can find it. Creating mood boards or writing detailed shot lists are excellent ways to begin this journey. Finding whatever helps you attain a flow of creativity will ultimately allow you to create your best work.
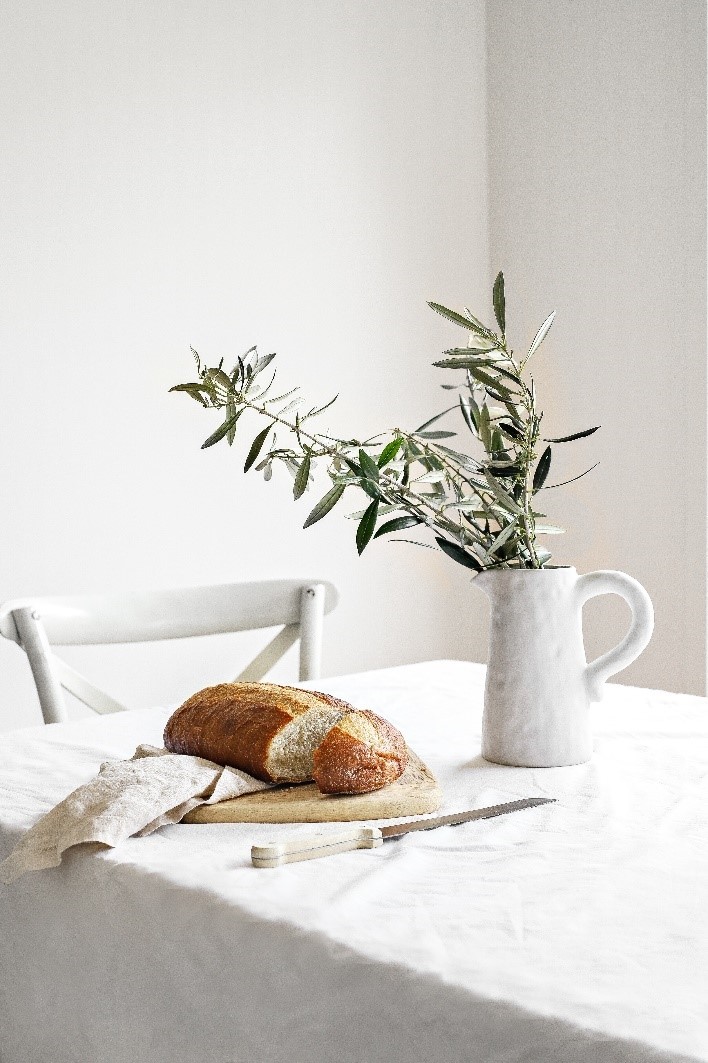
Phoebe’s go-to product photography gear is the Canon EOS 6D Mark II and EF 50mm f/1.8 STM lens.
For more photography tips and tutorials visit here.
Find out more about The May Studio.

Catherine Scott reveals the journey of making her best cinematic documentary, Backtrack Boys and the performance of the Canon C300.

All light sources have a colour temperature or cast. Check out Daniel Linnet's tips on white balance and Speedlite gels to capture the perfect image.

Find out how Daniel Linnet uses multiple Speedlites to create his photographs.