- Adventure Photography Tips with Adam Jordan
-

Adam Jordan is an “adventurer with a camera” and is happiest when pushing his photography skills to the limit in the great outdoors. Here he shares advice on getting started as an adventure photographer, with tips on everything from choosing the right camera gear and clothing to developing your own style and booking overseas trips on a budget.
Choosing a Camera
You don’t need a top-of-the-line camera to take great adventure photos. When you’re just starting out, your goal should be to develop your eye, while creating your own style and learning the art of composition. Your skills are always going to be more important than the gear you use.
There are many affordable travel cameras available. For my needs, I find the M50 mirrorless camera is perfect. It’s lightweight (ideal for long hikes) and takes great photos and videos. Another good thing about this camera is that it’s relatively affordable.
As a solo traveller I also like the fact that the M50 allows you to take epic selfies and videos by using the Camera Connect app to control the camera with your phone.
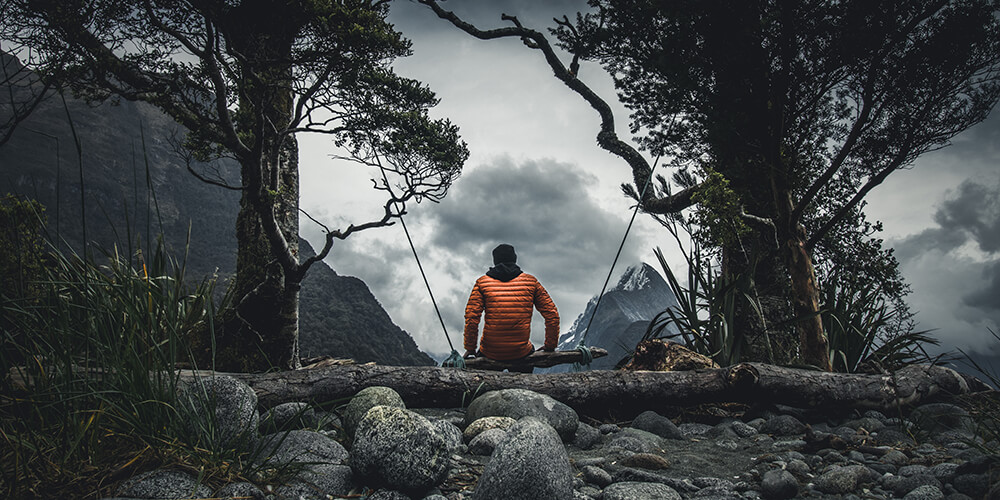
Best Lenses for Adventure Photography
When it comes to recommended lenses for adventure travel photography, the EF-M 15-45mm f/3.5-6.3 IS STM lens that comes with the M50 is a good starting point. It’s a really dynamic lens that’s great for everything from landscapes and cityscapes to portraits and street photography, plus it has a great focal length for shooting vlog style videos.
You may want to look at adding some additional EF-M series lenses to your kit in time. You can also use EF lenses with your M50 by using the mount adapter. With my travel setup I have the kit lens and use the adapter to use my DSLR lenses including the EF-S 10-18mm f/4.5-5.6 IS STM Lens for ultra-wide shots, as well as the EF 50mm f/1.4 USM, and EF 70-300mm f/4-5.6 for telephoto shots.
Choosing a Tripod for Adventure Photography
Having a sturdy tripod is essential for shooting great landscape photos, especially if you want to shoot in low-light scenarios. The most important thing when it comes to choosing a tripod is the weight. When you’re out hiking for hours, days and even weeks at a time, you really need to keep the weight of your pack down. For multi-day hikes I use the Joby Gorillapod 3K, as it’s small, light and stores away really nicely. I don’t get the height that I’d like at times, but what I save in weight makes it more than worth the compromise.
ND Filters
If you’re planning on taking long-exposure photos or shooting video then I would highly recommend using ND filters. These will allow you to use slow shutter speeds and wide apertures, even in the brightest of light. This will ensure you get the creative look you are aiming for. There are many options available at a wide range of price points.
Once you’ve got your camera, it’s time to get out there and start exploring. If you don’t have the funds or time to head overseas then set off on local adventures. Look for interesting locations near you or get out on the road and enjoy day-trips and overnight adventures. You don’t have to travel to the other side of the world to get started in adventure photography. You might even find new spots that haven’t been shot before and be the person that shows how great your area is!
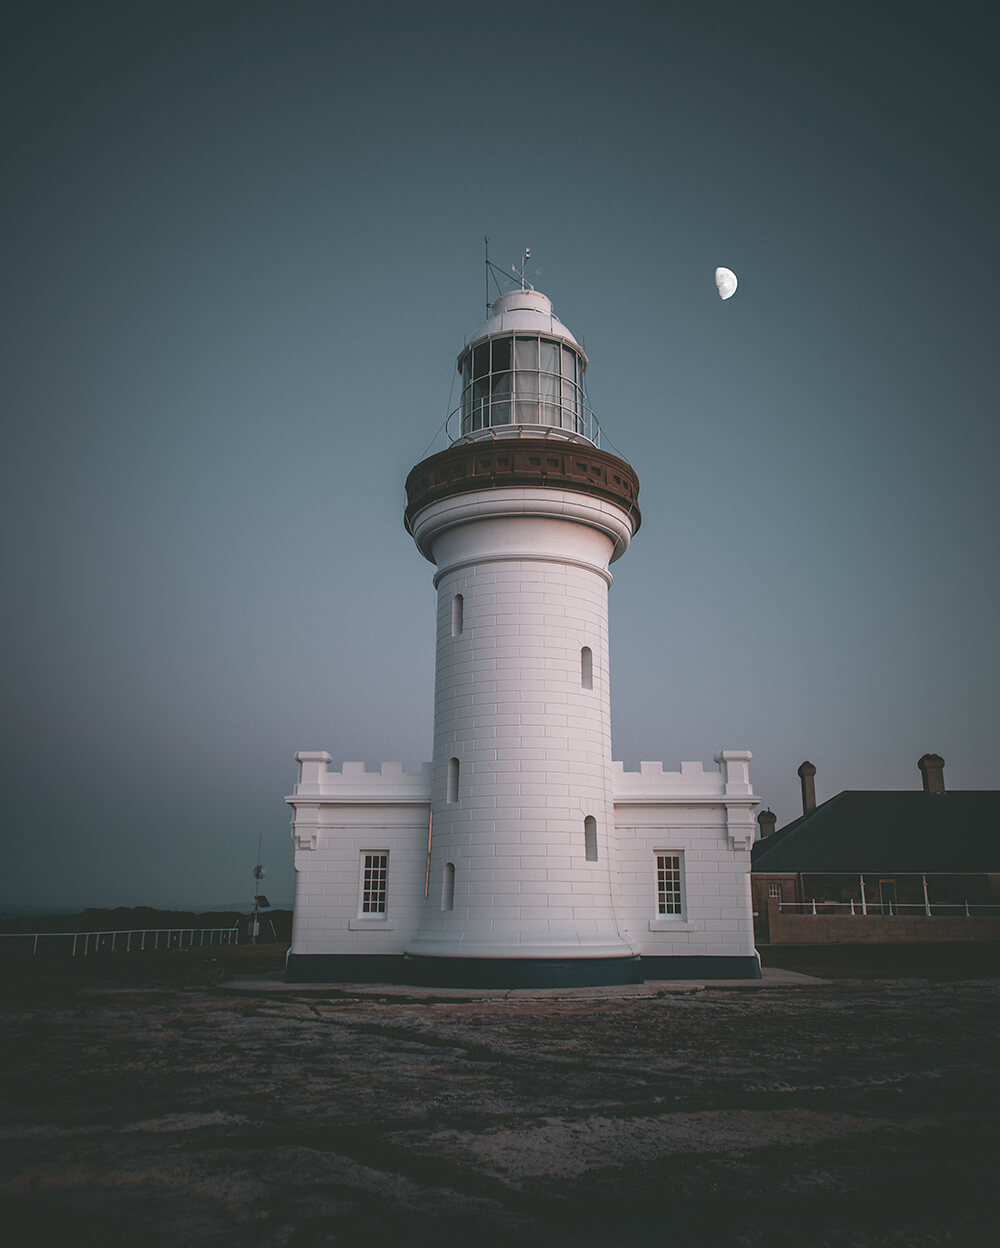
Whether you’re setting off on a day-trip or a month-longhike, it’s important to have the right gear. Buying equipment can add up quite quickly, so I recommend getting what you need as and when you need it, rather than jumping straight in and buying everything at once.
Basic Essentials
I always carry water, sunscreen, hat, first-aid kit and food/snacks. Obviously the amount required depends on how long you’ll be out for, but definitely pack a little more than you think you’ll need, just in case.
Jackets
It’s worth spending good money on a warm down-feather jacket and a sturdy rain jacket that you can take on adventures all over the world. I have a Kathmandu jacket that I’ve taken to Tasmania, China, New Zealand and many local hikes.
Tent or Bivy Sack
If you’re travelling solo then a small tent or bivy sack will be light and easy to carry. My bivy is small enough to fit in my backpack along with an inflatable mattress and sleeping bag. When you choose a sleeping bag, be sure to keep the temperatures of the places you want to visit in mind.
Cooking Gear
A small butane-powered stove will work for most of your cooking needs. They’re also small and fold up nicely.
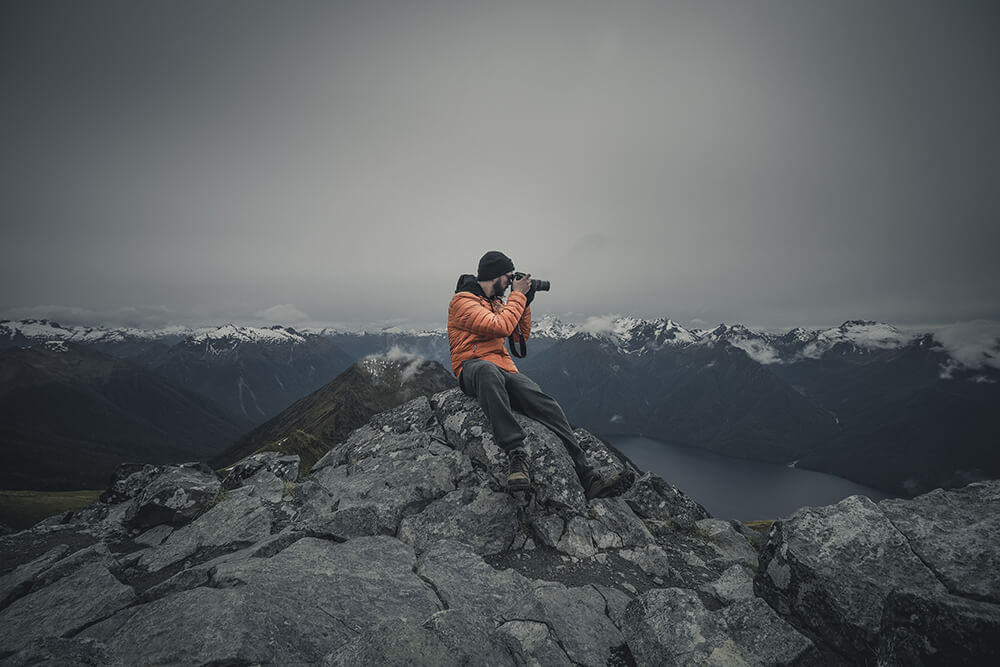
Develop Your Unique Vision
By the time you start travelling overseas you will have hopefully used your local adventures to develop your own style. Even if you are heading to a popular location, you can still use your eye and style to create unique images. At the end of the day we are creating art and there is no right or wrong way to do it.
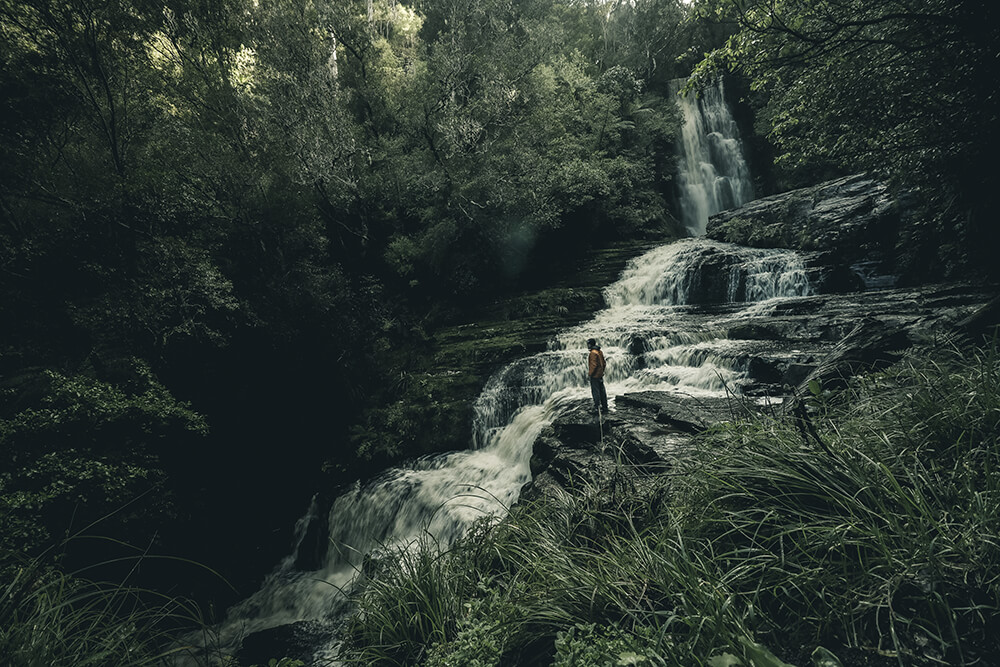
Work the Scene and Stay Flexible
You won’t always have the luxury of being able to sit around waiting for perfect lighting. If you can’t be at a spot during the “golden hours” of sunrise or sunset, find a way to make the location work for you when you can be there. Be flexible with your vision. Even if I’ve seen shots I love from other photographers, I don’t want to reproduce what has already done, so I like to wait and see what nature hands me on the day.
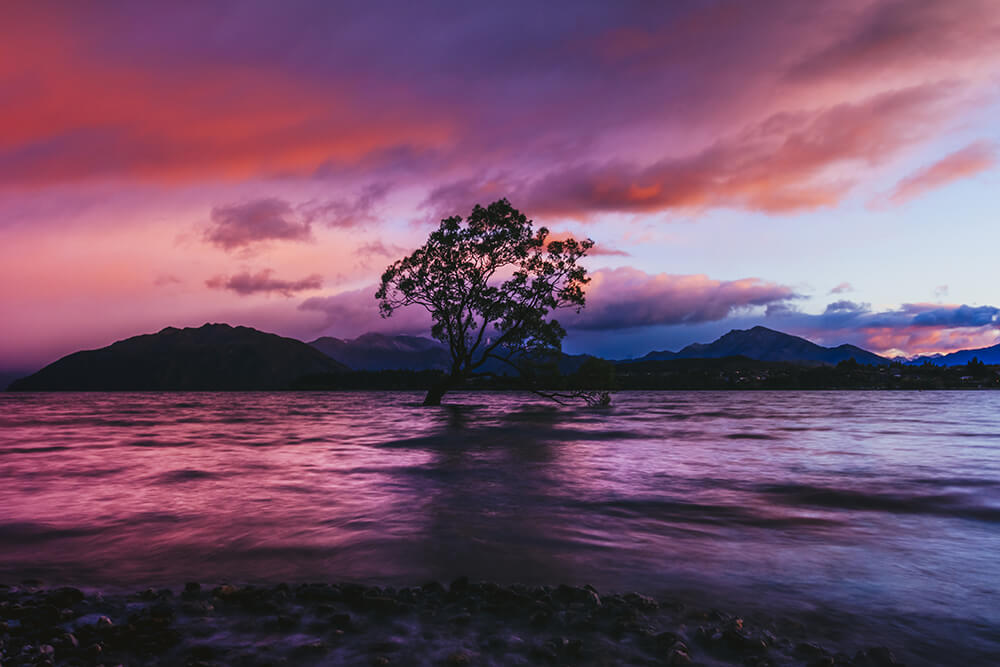
Every adventure we embark on will teach us new photography skills. Whether you head out for a day to shoot your local area or set off on a round the world trip, the main thing is to just get out there, have fun and explore the world with your camera!
Find out more about the M50 here.
Photography by Adam Jordan. See more of his adventure photos on Instagram.

Elaine shares her favourite photography locations in Helsinki and Lapland. From snow-white fields to ethereal pine forests, Finland sure has a lot to offer.

From waterfalls and glaciers to wild horses and black-sand beaches, photographer Steph Vella shares her advice on capturing the spectacular natural beauty of Iceland.

Liz Carlson, of Young Adventuress, talks about her time in Svalbard and shares her tips for capturing some impressive Polar Bear images.