Connect the camera to a printer via Wi-Fi to print as follows.
To connect to a printer via Wi-Fi, you can either use the camera as an access point (Camera Access Point Mode) or use an existing access point.
Caution
Caution
Connecting the Camera and Printer via Wi-Fi
Register the printer you wish to connect via Wi-Fi.
1. Press the [ 

Caution
 ) is displayed.
 ], [
], [  ] buttons to choose the [Nickname] field, press the [
  ] button to display the keyboard, and then enter the desired nickname. After you have finished entering the nickname, press the [ MENU ] button to return to the registration screen, press the [
  ], [
], [  ] buttons, choose [OK], and then press the [
  ] button.
2. Press the [ 


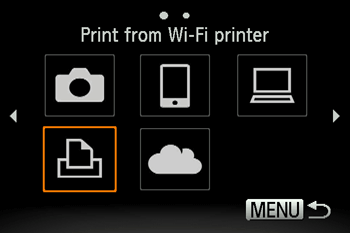
3. Press the [ 


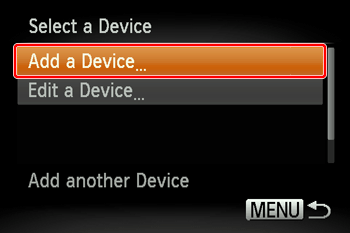
Caution
 ], [
], [  ] buttons to choose the device and then pressing the [
  ] button. To add a new device, display the device selection screen by pressing the [
  ], [
], [  ] buttons and then configure the setting. If you prefer not to display recent target devices, choose [MENU] ⋗ [
  ] tab ⋗ [Wireless settings] ⋗ [Wi-Fi Settings] ⋗ [Target History] ⋗ [Off].
4. In the printer's Wi-Fi setting menu, choose the SSID (network name) displayed on the camera.

Caution
You can improve the security by opening the [ 


5. When the printer is ready to be connected, the printer name is displayed on the camera.
Press the [ 


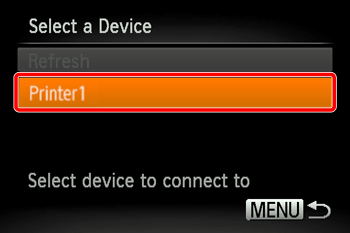
6. When the printer registration is complete, the following printing screen will appear.
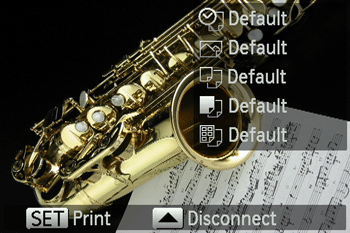
Choose an image to print.
7. Press the [ 


8. The menu items are displayed.
Press the [ 


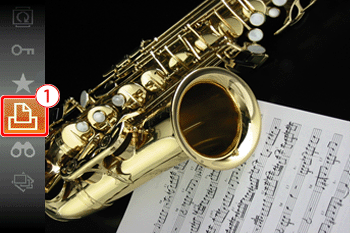
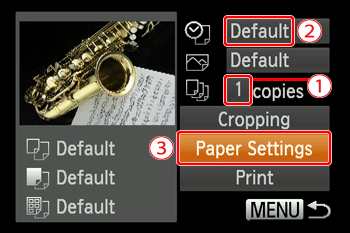
9. The printing setting screen will appear.
 ], [
], [  ] buttons, select (
  ), press the [
  ] button to access the setting screen, and then enter the value.
  ], [
], [  ] buttons, select (
  ), press the [
  ] button to access the setting screen, and then enter a value.
  ], [
], [  ] buttons to select [Paper Settings] (
  ), and then press the [
  ] button.
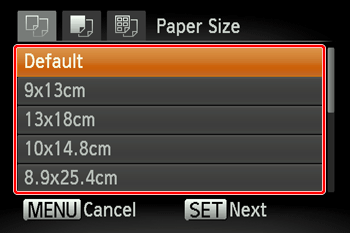
 10. The screen where you can set the paper size is displayed.
Press the [ 


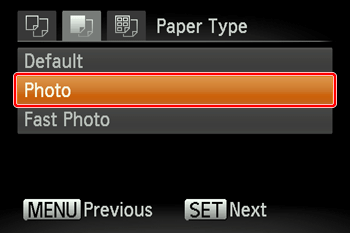
11. The screen where you can set the paper type is displayed.
Press the [ 


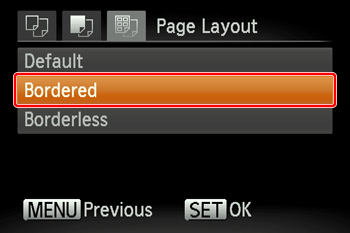
12. The screen where you can set the layout (borders) is displayed.
Press the [ 


13. The printing setting screen will reappear.


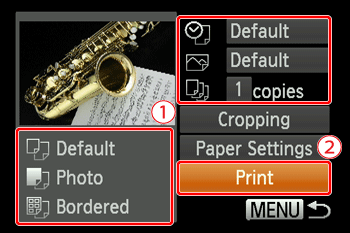
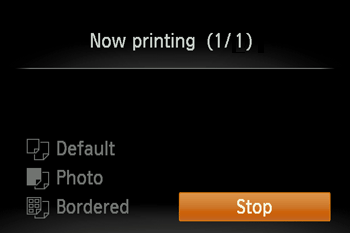
14. Printing now begins.
